WE AMPLIFY MOBILE SIGNAL
SINCE 2001
SINCE 2001

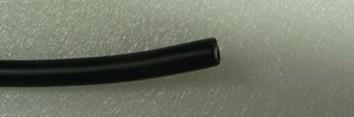
Measure and cut the cable to the desired length using wire cutters.
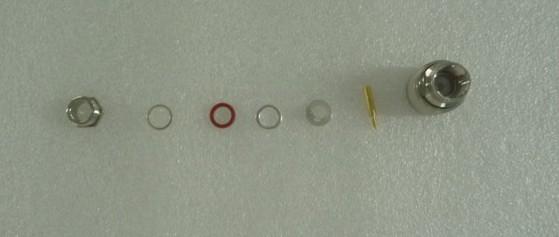
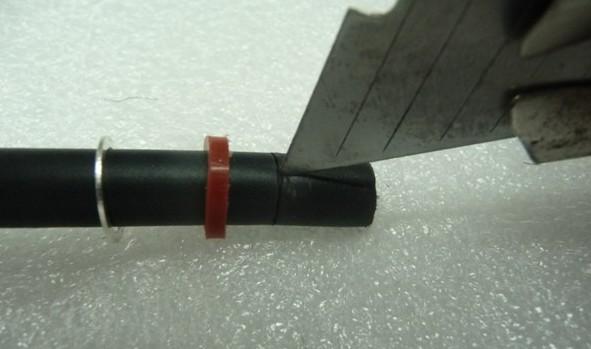
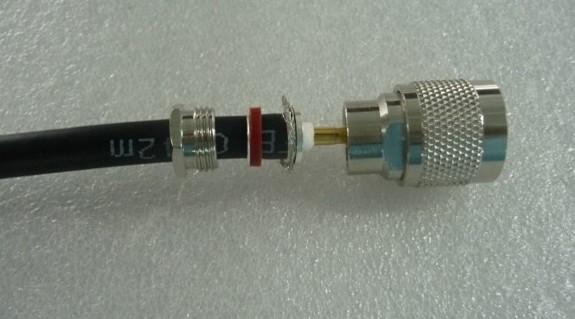
Slide the screw ring, metal gasket, and rubber ball pad onto the cable.
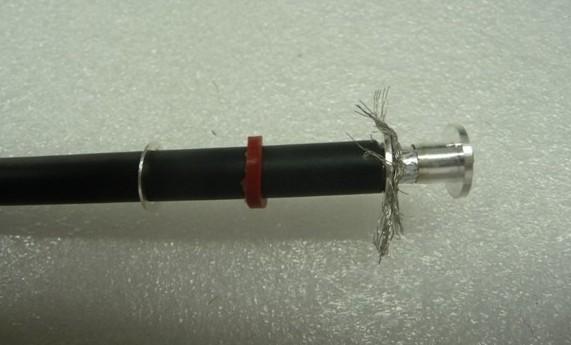
Use a knife to carefully cut about 2 cm of the outer rubber layer at the end of the cable. Be gentle to avoid damaging the internal metal conductor.
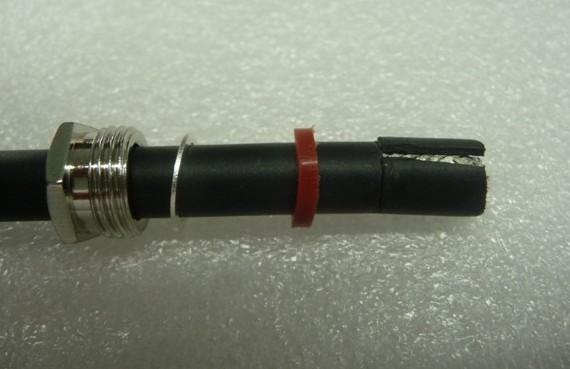
Peel off the outer rubber layer completely.
Slide another metal gasket onto the cable as shown in the image.
Use tweezers to peel back the outer metal shielding to expose the insulation underneath.
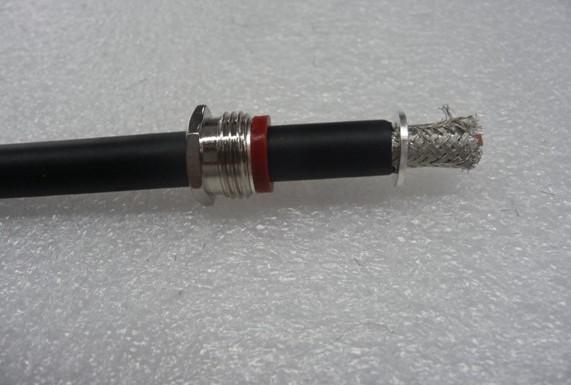
Insert the metal mat inside the cable as shown below.
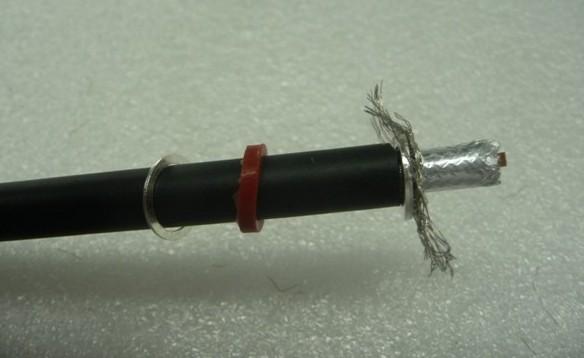
Use a knife to cut about 0.8 cm of the inner insulation to expose the core conductor. Be careful not to damage the central wire.
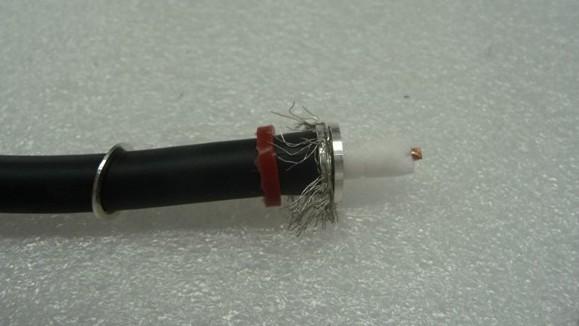
Remove the cut insulation, leaving the metal core exposed.
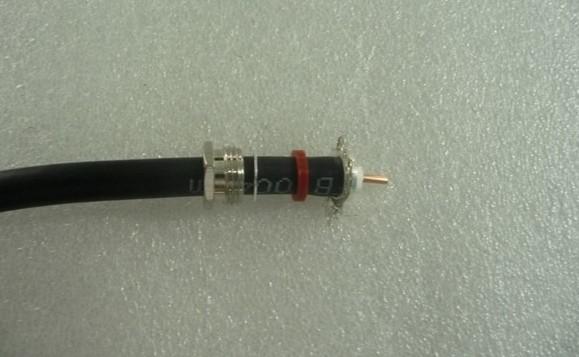
Check if the length of the exposed metal core matches the required pin hole length. If the core is too long, trim it using wire cutters.
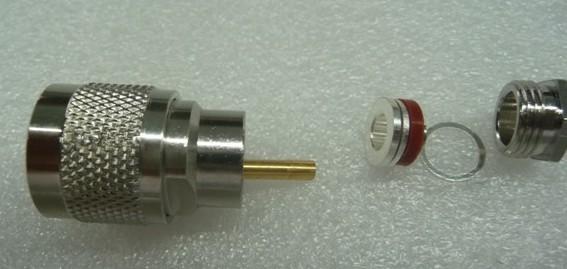
Insert the wire core into the pin hole of the connector.
Trim any excess mesh metal shielding that is too long.
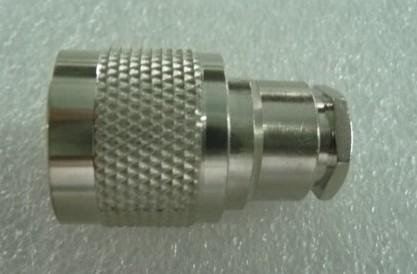
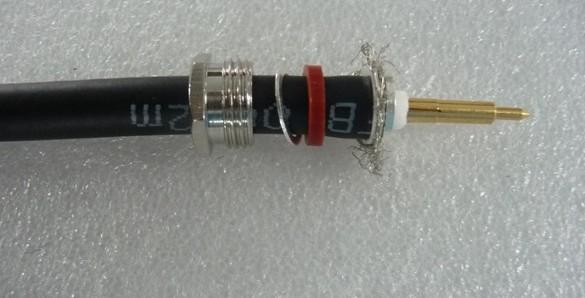
Carefully insert the cable into the connector body as shown in the diagram.
Rotate the screw ring to secure the connection.
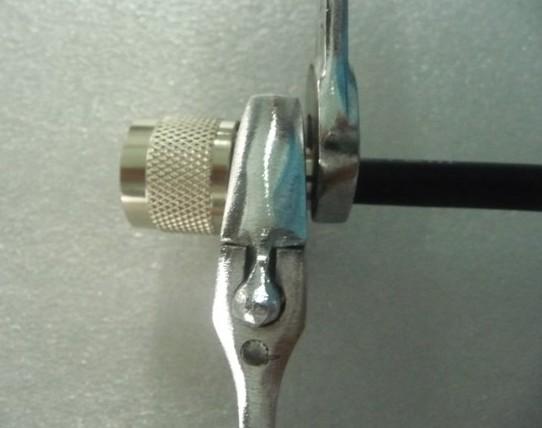
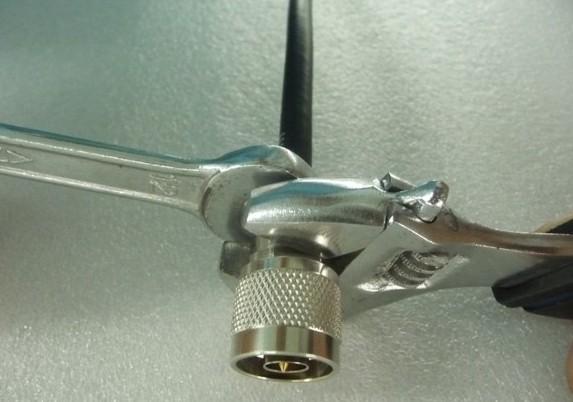
Use two monkey wrenches to tighten the connector securely.
Turn the multimeter dial to the correct setting.
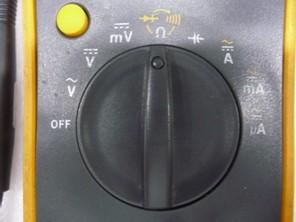
Press the yellow button twice to enter the correct measurement mode.
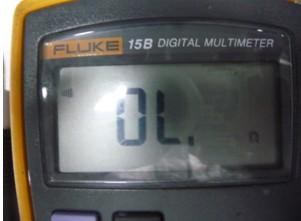
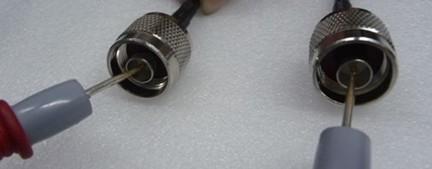
Test the pin connection by touching the multimeter probes to both connector pins. If the circuit is working correctly, the multimeter will beep.
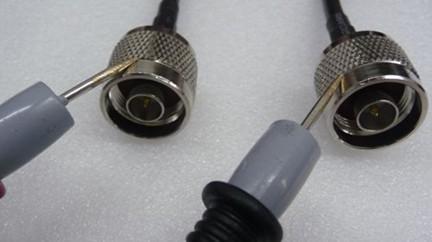
Test the outer shell connection by touching the probes to both metal shells of the connectors. A beep confirms proper continuity.
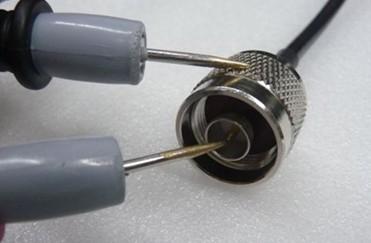
Check for short circuits by touching the multimeter probes to the pin and outer shell. If the multimeter beeps, a short circuit is present and must be fixed.
If all tests pass without any short circuits, your cable is properly connected and ready for use.
Boosters
Kundtjänst
Vi accepterar
Kontakta oss